Try our service free
→ Discover complimentary downloads without needing a payment method.
Browse free


Mixing with premium orchestral plugins: pro guide

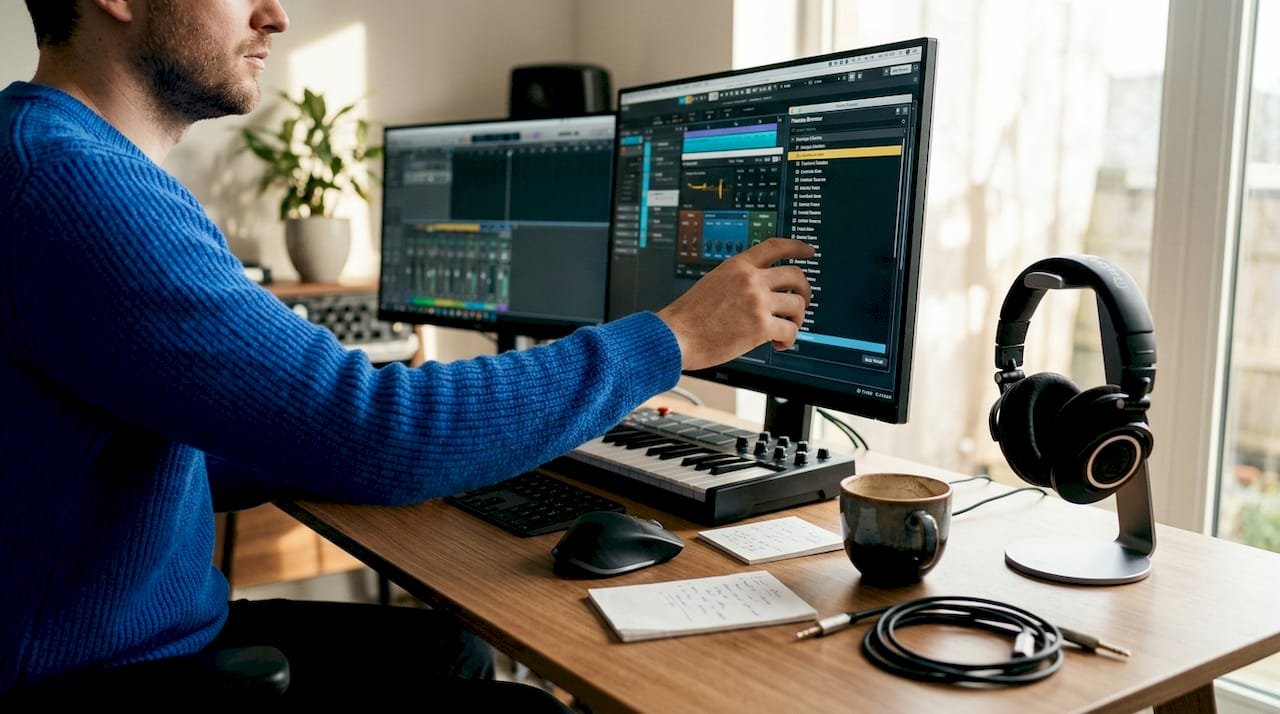
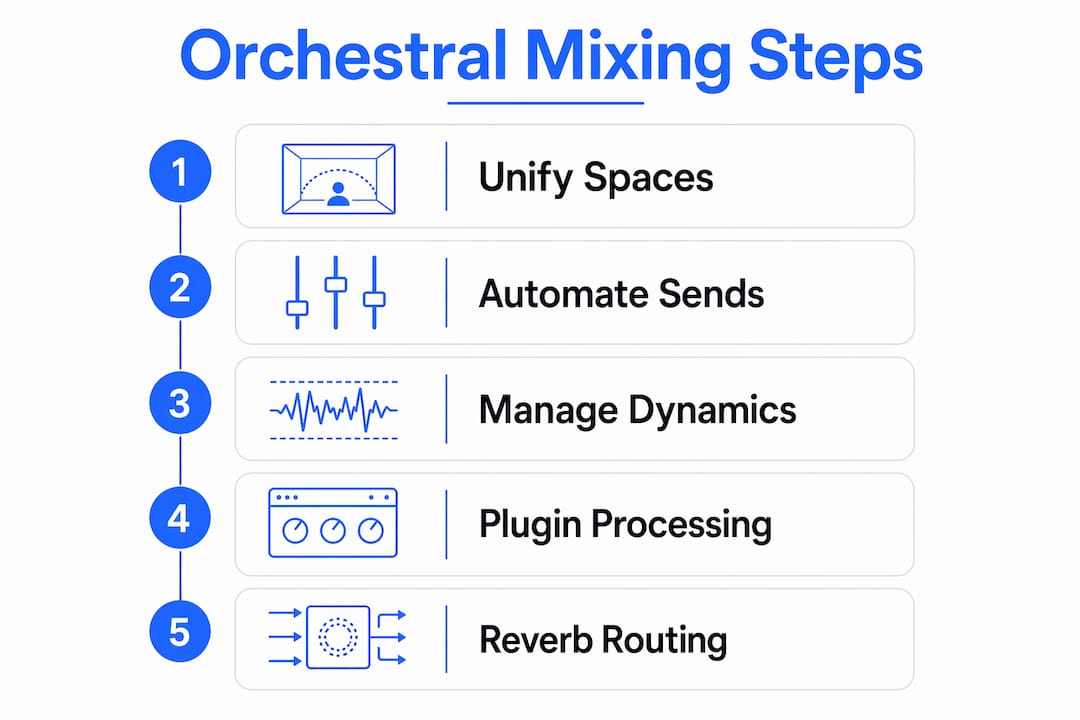
Mixing with premium orchestral plugins is the process of blending virtual orchestral instruments into a coherent, engaging soundscape using shared reverb architecture, dynamic automation, and plugin-native processing. Done correctly, libraries like EastWest Hollywood Orchestra, combined with tools such as FabFilter Pro-Q 3 and Valhalla DSP reverbs, can produce results indistinguishable from a live hall recording. The challenge is not the quality of the samples. It is knowing how to unify instruments recorded in different rooms, manage headroom for streaming platforms, and exploit the built-in channel-strip features that most producers leave untouched.
How to unify acoustic spaces when mixing orchestral plugins
The single greatest obstacle in professional orchestral mixing is acoustic inconsistency. When you combine libraries recorded at EastWest’s Studio 1 with strings from a different venue, the room signatures clash and the result sounds like a collage rather than a performance.
The most reliable solution is routing close-mic signals into a shared IR-based reverb bus, then layering a synthetic reverb underneath to fill gaps in the impulse response. This approach gives you one controllable acoustic environment rather than three competing ones. The close mics carry the attack and body of each instrument; the shared bus provides the room.

Far-mic and ambient signals require a different approach. Blending them at reduced levels beneath the close-mic signal preserves spatial richness without letting the original room dominate. Treating ambience as an instrument rather than a background element is the mindset shift that separates competent mixes from convincing ones.
EQ and panning are your primary alignment tools before any reverb is applied. Libraries often differ in tonal character: one string section may be brighter, another warmer. A few dB of high-shelf cut or boost on a send channel can match tonal signatures quickly. Panning based on orchestral seating with mid/side tools that retain low-frequency stereo information further reinforces the illusion of a single ensemble on a single stage.
Key strategies for acoustic unification:
- Route all close-mic signals to a single shared IR reverb bus with a decay time matching your target hall
- Blend far-mic signals at 10 to 20 per cent of their original level to add depth without imposing a second room
- Apply EQ per instrument group before the reverb send to match tonal characteristics across libraries
- Use pre-delay of 20 to 35 ms on the shared bus to separate the dry signal from the reverb tail naturally
- Pan instruments to reflect standard orchestral seating: violins stage left, cellos and violas centre-left, brass and woodwinds centre to right
Pro Tip: Never set your reverb send level and forget it. Automate the send amount across the arrangement so that sparse passages feel intimate and full tutti sections feel expansive. This single habit does more for realism than any impulse response you could purchase.
How should you manage dynamics for streaming orchestral mixes?
Streaming platforms apply loudness normalisation, and orchestral music suffers more than any other genre when this is mishandled. A heavily compressed master loses the dynamic contrast that makes a crescendo land. A mix that peaks too high gets turned down by the platform, exposing every flaw in the balance.
The correct targets are specific and non-negotiable. Start at -18 dBFS RMS on orchestral passages, keep master peaks below -6 dBFS during the mix stage, aim for -14 LUFS integrated at the mastering stage, and set your true peak limit at -1 to -1.5 dBTP. These figures give streaming platforms nothing to fight against and preserve every dynamic nuance you have written into the arrangement.
The order of operations matters as much as the targets:
- Write volume automation first. Shape every phrase, every swell, and every transition with fader moves before a single compressor is inserted.
- Apply bus compression at a ratio of approximately 1.5:1 with slow attack and fast release. The goal is glue, not gain reduction. Gentle bus compression preserves dynamics while adding cohesion.
- Insert a transparent lookahead limiter at the end of the master chain solely to catch transient overshoots. It should engage rarely, not constantly.
- Avoid heavy master bus compression entirely. Automation is paramount for preserving dynamics; compression and limiting are safety nets, not loudness tools.
- Test the finished mix on headphones, laptop speakers, and a Bluetooth speaker. Orchestral mixes that translate across all three are genuinely well-balanced.
Pro Tip: Use iZotope Ozone 12’s loudness metering to check integrated LUFS in real time during the mix, not just at the mastering stage. Catching a level problem at mix stage saves hours of revision later.
What built-in channel-strip features do premium orchestral plugins offer?
Most producers treat their orchestral plugin as a sample playback engine and do all processing in the DAW. This creates redundant processing chains and wastes CPU. The smarter workflow starts inside the plugin itself.
EastWest Hollywood Orchestra OPUS provides a per-instrument articulation channel strip with EQ, compression, and effects modelled on SSL-style processing. This means you can shape the tonal character of a solo violin or a brass section before the signal ever reaches your DAW mixer. The internal strip handles initial tonal shaping; the DAW handles spatial placement and overall cohesion.
Benefits of using the plugin channel strip first:
- Reduces the number of DAW insert plugins required per track, lowering CPU load on large templates
- Keeps tonal decisions close to the source, making it easier to recall and adjust individual articulations
- Allows use of genre-specific mix presets such as OPUS’s ‘Movie Mixes’ and ‘Mood’ settings, which tailor the balance to cinematic contexts without manual adjustment
- Frees the DAW mixing stage to focus on reverb sends, automation, and inter-instrument balance rather than corrective EQ
The practical rule is straightforward. If a processing decision is specific to one instrument or articulation, make it inside the plugin. If it affects the relationship between instruments or the overall spatial image, make it in the DAW. This division of labour keeps large orchestral templates manageable and prevents the mix from becoming a maze of overlapping insert chains.
What is the best reverb routing approach for orchestral mixes?
Insert-based reverb on individual tracks is the most common mistake in orchestral production. It creates phase inconsistencies, wastes CPU, and makes it nearly impossible to adjust the overall room character without editing dozens of tracks individually. Send-based routing solves all three problems at once.
The professional standard is three primary reverb buses. A short bus with a decay of 0.4 to 0.8 seconds handles close percussion and staccato articulations. A medium bus with a decay of 1.2 to 1.8 seconds suits woodwinds and solo strings. A large bus with a decay of 2.2 to 3.0 seconds carries full string sections, brass, and choir. Using 2 to 3 shared reverb buses with pre-delays of 20 to 35 ms and high-pass filters at 200 to 300 Hz on each send and return is the standard that professional orchestral engineers apply consistently.
| Reverb bus | Decay range | Best suited for |
|---|---|---|
| Short | 0.4 to 0.8 seconds | Percussion, staccato brass, pizzicato |
| Medium | 1.2 to 1.8 seconds | Woodwinds, solo strings, harp |
| Large | 2.2 to 3.0 seconds | Full strings, brass section, choir |
The high-pass filter on each reverb return is not optional. Shared reverb sends with low-cut filtering prevent cumulative low-frequency buildup that turns complex orchestral sessions into a muddy wash below 200 Hz. Every instrument sending to every reverb bus contributes low-end energy to that return. Without filtering, the effect compounds quickly.
Reverb return levels should sit low enough that the dry signal remains clearly dominant. The reverb supports the instrument; it does not replace the room. A useful test is to solo the reverb return alone. If it sounds like a recognisable instrument rather than an abstract tail, the level is too high.
Delay complements reverb by adding spatial depth without increasing the sense of room size. A short stereo delay at 60 to 90 ms on brass or woodwind sends creates width and presence that reverb alone cannot achieve. The Valhalla DSP bundle covers all three bus types with room, hall, and plate algorithms that work exceptionally well for orchestral material.
Pro Tip: If you are combining libraries with noticeably different room characters, use separate IR reverbs for each instrument group rather than a single shared IR. Assign strings to a hall IR, brass to a slightly drier stage IR, and blend both groups into a single large synthetic reverb at low level. The result sounds like a real ensemble spread across a stage rather than samples stacked in one room.
Key takeaways
Mixing orchestral plugins professionally requires a disciplined bus architecture, automation-led dynamics, and a clear division between plugin-internal processing and DAW-level spatial work.
| Point | Details |
|---|---|
| Unify acoustic spaces early | Route close mics to a shared IR reverb bus and blend far mics at reduced levels to create one coherent room. |
| Set streaming targets before mastering | Aim for -14 LUFS integrated, -18 dBFS RMS at mix stage, and -1 dBTP true peak to protect dynamics on all platforms. |
| Use plugin channel strips first | Shape tone inside EastWest OPUS or equivalent before adding DAW inserts to avoid redundant processing and save CPU. |
| Apply send-based reverb with three buses | Short, medium, and large decay buses with high-pass filters at 200 to 300 Hz prevent mud and maintain spatial clarity. |
| Automate before compressing | Volume automation should define all dynamic shape; bus compression at 1.5:1 is a safety net, not a loudness tool. |
Why I think most orchestral mixes fail before the reverb is even added
The producers I see struggling with orchestral mixes are almost always fighting the wrong problem. They spend hours auditioning impulse responses when the real issue is that their EQ and panning decisions are not made yet. Reverb cannot fix a mix where the strings and brass occupy the same frequency space and sit in the same stereo position. It just makes the problem louder and wetter.
My honest view, after working with libraries from EastWest, Spitfire Audio, and Orchestral Tools, is that the acoustic space should feel mostly correct before a single reverb send is opened. Get the tonal balance right with FabFilter Pro-Q 3. Get the stereo image right with panning that reflects real orchestral seating. Then add reverb to confirm and deepen what is already there.
The other mistake I see constantly is ignoring the multi-mic options that come with premium libraries. Those close, tree, and outrigger mic positions exist precisely so you can blend your own room. Using only the default mix position and then fighting it with reverb is working against the tool. Use the close mics as your primary signal and treat the ambient mics as seasoning.
Bus architecture is the unglamorous part of this work, but it is where the mix either holds together or falls apart. A well-planned send structure with three reverb buses, filtered returns, and automated send levels translates to every listening environment. A mix built on insert chains and default settings does not.
— pluginsboutique
Upgrade your orchestral mixing toolkit at Pluginsboutique

Pluginsboutique stocks the full range of tools discussed in this guide, from EastWest Hollywood Orchestra to the FabFilter Total Bundle with Pro-Q 3, Pro-C 2, and Pro-L 2 included. The Valhalla DSP Complete Pack covers every reverb bus type you need for orchestral work, with room, hall, and plate algorithms trusted by film composers worldwide. For producers building or upgrading their orchestral production setup, the best VST plugins of 2026 guide on Pluginsboutique is the fastest way to identify which tools belong in your signal chain. Free trials are available on selected titles with no payment information required.
FAQ
What is the best reverb approach for orchestral plugin mixes?
Send-based routing to three shared buses (short, medium, and large decay) is the professional standard. Apply a high-pass filter at 200 to 300 Hz on each reverb return to prevent low-frequency buildup.
What LUFS target should orchestral mixes aim for on streaming platforms?
Aim for -14 LUFS integrated with a true peak limit of -1 to -1.5 dBTP. Keep mix-stage RMS around -18 dBFS on orchestral passages to protect dynamic range before mastering.
Should I process orchestral instruments inside the plugin or in the DAW?
Use the plugin channel strip for tonal shaping per instrument or articulation, and reserve DAW processing for spatial placement, reverb sends, and overall balance. This avoids redundant processing and reduces CPU load.
How do I blend orchestral libraries recorded in different rooms?
Route close-mic signals to a shared IR reverb bus to impose a single acoustic environment. Blend far-mic signals at reduced levels and match tonal characteristics with EQ before applying any reverb.
Does over-quantising orchestral MIDI affect mix quality?
Yes. Slight timing shifts and varied velocity improve realism and prevent the mechanical uniformity that makes virtual orchestras sound obviously synthetic, which in turn makes the mix harder to balance convincingly.